

Start here
Understanding Your Home Before You Pick Up a Tool
Next
Prioritizing Repairs: Safety and Structure First
Then
Building Your Basic Toolkit
When you're ready
Knowing When to DIY and When to Hire a Pro
Before any project
Permits, Codes, and Common First-Timer Mistakes
Understanding Your Home Before You Pick Up a Tool
The most important first step in home improvement has nothing to do with tools - it's learning how your house actually works. Before you attempt any repair or upgrade, locate three critical systems: your main water shutoff valve, your electrical service panel, and your HVAC unit (furnace, air handler, or heat pump). Knowing how to cut power or stop water flow in an emergency prevents a minor problem from becoming a disaster.
Walk every room and note what you see. Look for water stains on ceilings, soft spots in flooring, cracked or peeling paint near windows, and any signs of pest activity. These observations become your baseline - a map of what needs attention and in what order. Keep a simple home maintenance log, even a notebook, where you record repairs made, appliance ages, and warranty information.
If your home came with an inspection report from the purchase, review it carefully. Inspectors flag issues they observed at a moment in time; some items may have worsened or require follow-up. If you're still in the process of purchasing, see our guide to buying a home for context on what to look for before signing.
GFCI outlet
A Ground Fault Circuit Interrupter outlet automatically shuts off power if it detects an imbalance in current, protecting against electric shock. These are required by code near water sources like kitchens, bathrooms, and garages.
Load-bearing wall
A wall that supports the weight of the structure above it, transferring that load to the foundation. Removing or modifying one without professional guidance can compromise the structural integrity of the home.
Deferred maintenance
Repairs or upkeep that have been postponed rather than addressed promptly. Over time, deferred maintenance typically results in more severe damage and significantly higher repair costs.
Building permit
An official approval from your local government authorizing specific construction or renovation work. It ensures the project is inspected and meets local safety and building codes.
HVAC
Stands for Heating, Ventilation, and Air Conditioning - the systems that control your home's temperature, airflow, and air quality. Routine maintenance of HVAC equipment extends its lifespan and keeps energy costs lower.
Prioritizing Repairs: Safety and Structure First
New homeowners often feel pressure to make a house feel like their home quickly - fresh paint, new fixtures, updated landscaping. That impulse is understandable, but cosmetic upgrades should come after safety and structural needs are addressed.
Use this general hierarchy when deciding what to tackle:
- Life-safety items: Working smoke and carbon monoxide detectors on every floor, functional GFCI outlets near water sources, no exposed wiring, secure handrails on stairs.
- Structural and moisture issues: Roof leaks, foundation cracks, basement water intrusion, and rotted wood all worsen over time and grow dramatically more expensive if ignored.
- Mechanical systems: An aging water heater, a failing HVAC system, or a sump pump that runs constantly deserves attention before a kitchen remodel.
- Cosmetic and comfort upgrades: Paint, flooring, landscaping, and fixtures can wait until the essentials are solid.
Deferred maintenance is one of the most expensive financial habits a homeowner can develop. Small leaks become mold problems; small cracks become structural failures. Addressing issues early almost always costs less than addressing them late.
Create a Simple Home Maintenance Calendar
Routine tasks like changing HVAC filters, cleaning gutters, testing smoke detectors, and inspecting weatherstripping follow seasonal rhythms. Setting calendar reminders for these jobs - spring and fall are natural checkpoints - helps you stay ahead of problems before they become repairs.
Building Your Basic Toolkit
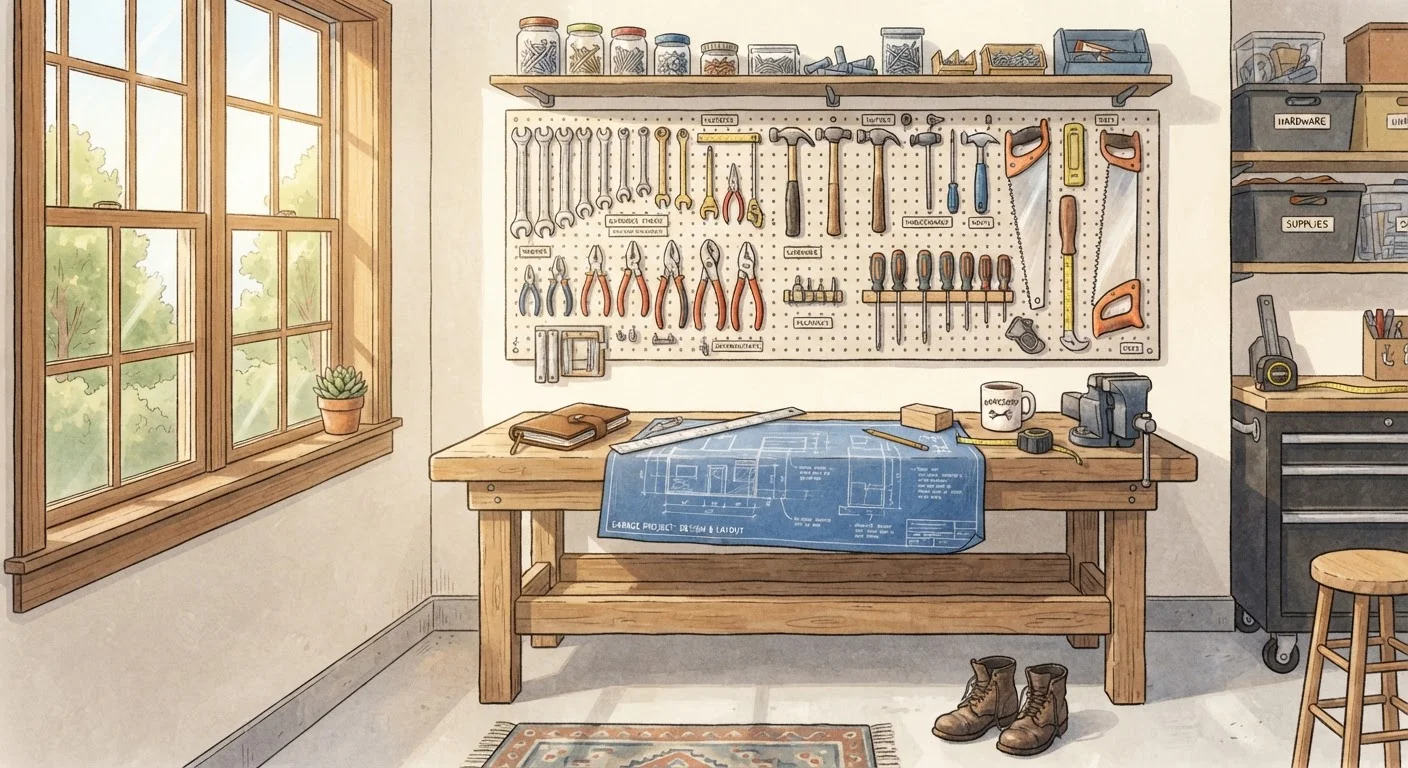
You don't need to own every tool - you need the right tools for the jobs you'll actually do. A well-chosen starter kit handles the majority of routine maintenance tasks without requiring a significant upfront investment.
Essential hand tools:
- Claw hammer (16 oz is a versatile standard weight)
- Tape measure (at least 25 feet)
- Flathead and Phillips screwdrivers in multiple sizes
- Adjustable wrench and a set of pliers
- Utility knife with spare blades
- 4-foot level
- Stud finder
One powered tool to prioritize: A cordless drill/driver is the single most useful power tool for a new homeowner. It drives screws, drills pilot holes, and handles tasks ranging from assembling furniture to installing shelving.
Buy tools as you need them rather than all at once. Renting specialty tools - a tile saw, a power auger, a paint sprayer - for one-off jobs is often more practical than owning them. For larger and more involved projects, our pre-project checklist walks you through what to prepare before you begin.
Knowing When to DIY and When to Hire a Pro
Honest self-assessment is a genuine home improvement skill. Attempting work beyond your current ability doesn't save money - it often creates more expensive problems and, in some cases, safety hazards.
Generally safe for motivated beginners:
- Painting interior walls and trim
- Replacing outlet covers, switch plates, and light fixtures (with power off at the breaker)
- Patching small drywall holes
- Caulking around tubs, sinks, and windows
- Replacing faucet aerators, showerheads, or toilet flappers
- Installing shelving and basic hardware
Always hire a licensed professional for:
- Electrical panel upgrades, new circuit wiring, or anything beyond simple fixture swaps
- Gas line work of any kind
- Load-bearing structural modifications
- Roofing repairs beyond minor surface patching
- Any work requiring permits and inspections
The line between DIY and professional work isn't always obvious. Our guide to DIY vs. hiring a contractor helps you weigh the trade-offs for specific projects.
Permits, Codes, and Common First-Timer Mistakes
Building permits exist to protect you. When a project is inspected by your municipality, you get independent verification that the work meets minimum safety standards. Skipping permits - even when a contractor suggests it to cut costs - can create real problems: difficulty selling your home, insurance claim denials, or being required to undo unpermitted work at your own expense.
Projects that commonly require permits include additions, structural changes, electrical rewiring, plumbing alterations, and HVAC system replacements. Rules vary significantly by location, so always verify with your local building department before starting. Our homeowner's guide to permits explains the process in detail.
Other common first-timer mistakes to avoid:
- Underestimating costs: Budget 10-20% above your initial estimate for most projects; unexpected issues are common once work begins.
- Starting too many projects at once: Finishing one project fully is more valuable than having several partially done.
- Skipping prep work: Proper surface preparation - cleaning, sanding, priming - is what determines how long a finish lasts.
- Ignoring ventilation and moisture: Poor airflow and unmanaged humidity damage materials and promote mold growth.
Home improvement is a skill built over time. Every project teaches you something - about your house, your tools, and your own capabilities. Start with manageable tasks, document what you learn, and build confidence incrementally. For a structured approach to tackling your next specific project, see our pre-renovation checklist.
Don't Skip Permits to Save Time or Money
Unpermitted work can complicate or derail a home sale, void your homeowner's insurance for related claims, and expose you to liability if something fails. If a contractor recommends skipping permits, treat that as a significant red flag about their practices.
Frequently Asked Questions
Focus on safety and structural issues before anything cosmetic. Fix roof leaks, address moisture problems, ensure smoke and carbon monoxide detectors work, and resolve any electrical or plumbing hazards. Once those are handled, you can move on to comfort and aesthetic upgrades.
A solid starter kit includes a hammer, tape measure, flathead and Phillips screwdrivers, adjustable wrench, utility knife, level, and cordless drill. These handle most routine maintenance and minor repairs without requiring a large investment.
Permits are typically required for structural changes, electrical work, plumbing alterations, HVAC modifications, and additions. Rules vary by municipality, so always check with your local building department before starting any significant project.
Hire a licensed professional for anything involving electrical wiring, gas lines, load-bearing structures, roofing, or permits requiring inspections. These projects carry real safety and legal risks if done incorrectly by an untrained person.
A commonly cited rule of thumb is to set aside roughly 1-2% of your home's purchase price each year for maintenance and repairs. Older homes or those in harsh climates may require more. This is general guidance - your actual costs will vary.
Common mistakes include skipping permits, underestimating project costs and timelines, attempting work beyond their skill level, and neglecting routine maintenance. Thorough planning and honest self-assessment of your abilities prevent most of these problems.
The content on this site is provided for informational purposes only and should not be considered a substitute for professional advice. While we strive to provide accurate and up-to-date information, we make no guarantees regarding its completeness or accuracy. Always consult a qualified professional for advice specific to your circumstances before making any decisions.