

Why Tire Pressure Has Real Consequences
Tire pressure is one of those maintenance items that feels optional until it isn't. Properly inflated tires affect fuel economy, braking distance, cornering stability, and how evenly the tread wears down over time. Running even 5-6 PSI low on all four tires can measurably reduce fuel efficiency and cause tires to wear unevenly - shortening their usable life.
Overinflation creates its own problems. A tire inflated beyond its target becomes stiffer and contacts the road through a smaller patch, reducing grip and making the ride harsh. The center of the tread wears faster than the edges, again costing you tire life prematurely.
This is one of the maintenance tasks most drivers skip until something more expensive happens - yet it takes less time than pumping a tank of gas. Understanding what's at stake makes the habit much easier to keep.
One PSI Drop Per 10°F Temperature Change
Tire pressure drops roughly 1 PSI for every 10°F decrease in outside temperature. This means a tire correctly inflated in summer can be 5-8 PSI low by midwinter without losing a single molecule of air. Drivers in climates with significant seasonal temperature swings should check pressure at the start of each cold season and again in spring.
What You Need Before You Start
You don't need a mechanic's toolbox for this task. The equipment list is short and inexpensive.
What you will need
Tire Pressure Gauge
Measures the air pressure inside each tire in PSI so you can compare it to the manufacturer's target.
Air Compressor or Gas Station Air Pump
Adds air to underinflated tires to bring them up to the correct PSI.
Valve Cap Holder or Small Tray
Keeps tiny valve stem caps from rolling away while you work.
If you don't own a compressor, most gas stations have air dispensers - some free, some coin-operated. Either way, bring your own gauge. Station-mounted gauges can be inaccurate from heavy use and exposure to the elements.
Step-by-Step: Checking and Adjusting Your Tire Pressure
Find your vehicle's recommended tire pressure
Look for a white or yellow sticker on the inside edge of the driver's door or door frame. It lists the recommended tire pressure in PSI for both front and rear tires - and sometimes a different value for a full-size spare. Write this number down before you begin.
Do not use the maximum PSI printed on the tire sidewall. That is the tire's structural limit, not the pressure your vehicle is designed to run at. The two numbers are often significantly different.
Check tires while they are cold
Tire pressure readings rise as you drive because friction heats the air inside. For an accurate baseline, check pressure before your first trip of the day or after the vehicle has been parked for at least three hours. Even a short drive of two or three miles can raise the reading by 4-6 PSI, which could lead you to release air you actually need.
Remove the valve stem cap and attach the gauge
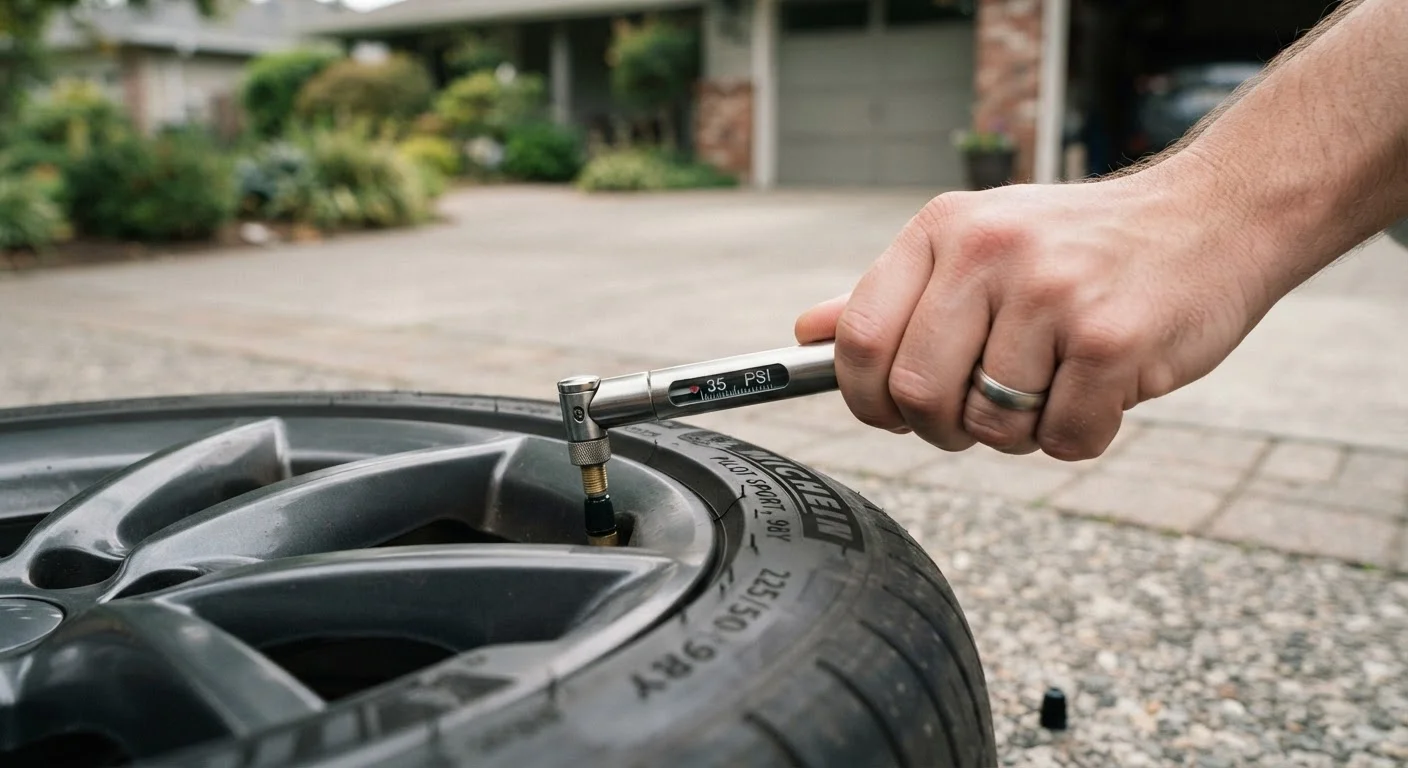
The valve stem is a short rubber or metal nozzle protruding from the inner rim of each wheel. Unscrew the small cap and set it somewhere safe. Press the open end of your gauge firmly and straight onto the valve stem - a brief hiss usually means the seal isn't tight enough. Press harder until the hiss stops and you get a steady reading.
Read and record the pressure for each tire
Note the PSI shown for each of the four tires. Pressure can vary between tires on the same vehicle, so check all four individually - don't assume they match. Compare each reading to the recommended PSI from the door sticker.
- Below target: The tire needs air added.
- At target (within 1 PSI): The tire is correctly inflated.
- Above target: Air needs to be released.
Add or release air as needed
To add air: Connect the air compressor hose to the valve stem and add air in short bursts, rechecking pressure frequently. It's easy to overshoot.
To release air: Use the small pin on the back of many gauges, or a thin object like a key, to briefly press the pin inside the valve stem. Release air in short bursts and recheck often.
Repeat for all four tires, replacing each valve cap when done.
Don't forget the spare tire
If your vehicle has a full-size or compact spare, check its pressure too. A flat spare discovered at the roadside is just as useless as a flat tire on the road. The recommended PSI for a compact spare (sometimes called a donut) is typically higher than regular tires - check the spare's door sticker label or owner's manual entry for its specific target.
Check Pressure Monthly - Not Just When a Light Comes On
The TPMS (Tire Pressure Monitoring System) warning light on most modern vehicles only activates when a tire is significantly underinflated - often 25% or more below the recommended level. By then, fuel economy and handling are already compromised. A monthly manual check catches gradual pressure loss before it reaches the warning threshold.
Building the Monthly Habit and Knowing When to Dig Deeper
Once you've done this the first time, it takes under five minutes. Setting a calendar reminder on the first of each month - or pairing the check with a monthly errand - is all it takes to stay consistent.
If a tire consistently reads low even after you've added air, that's a signal to have it inspected by a qualified mechanic. Slow leaks can come from a nail or screw embedded in the tread, a damaged valve stem, or a compromised bead seal where the tire meets the rim. These problems don't fix themselves.
Underinflation Is the More Dangerous Condition
A significantly underinflated tire flexes excessively as it rolls, generating heat that can lead to tread separation or a blowout at highway speeds. It also reduces steering responsiveness and extends stopping distances. Don't treat a low tire as a minor inconvenience - address it before driving any meaningful distance.
Tire pressure is just one part of a broader maintenance picture. Understanding your full service schedule - including fluid checks, filter replacements, and mileage-based intervals - helps you stay ahead of costly surprises. Our guide on reading your vehicle's maintenance schedule breaks down what all those numbers and intervals actually mean for your specific driving habits.
The content on this site is provided for informational purposes only and should not be considered a substitute for professional advice. While we strive to provide accurate and up-to-date information, we make no guarantees regarding its completeness or accuracy. Always consult a qualified professional for advice specific to your circumstances before making any decisions.