

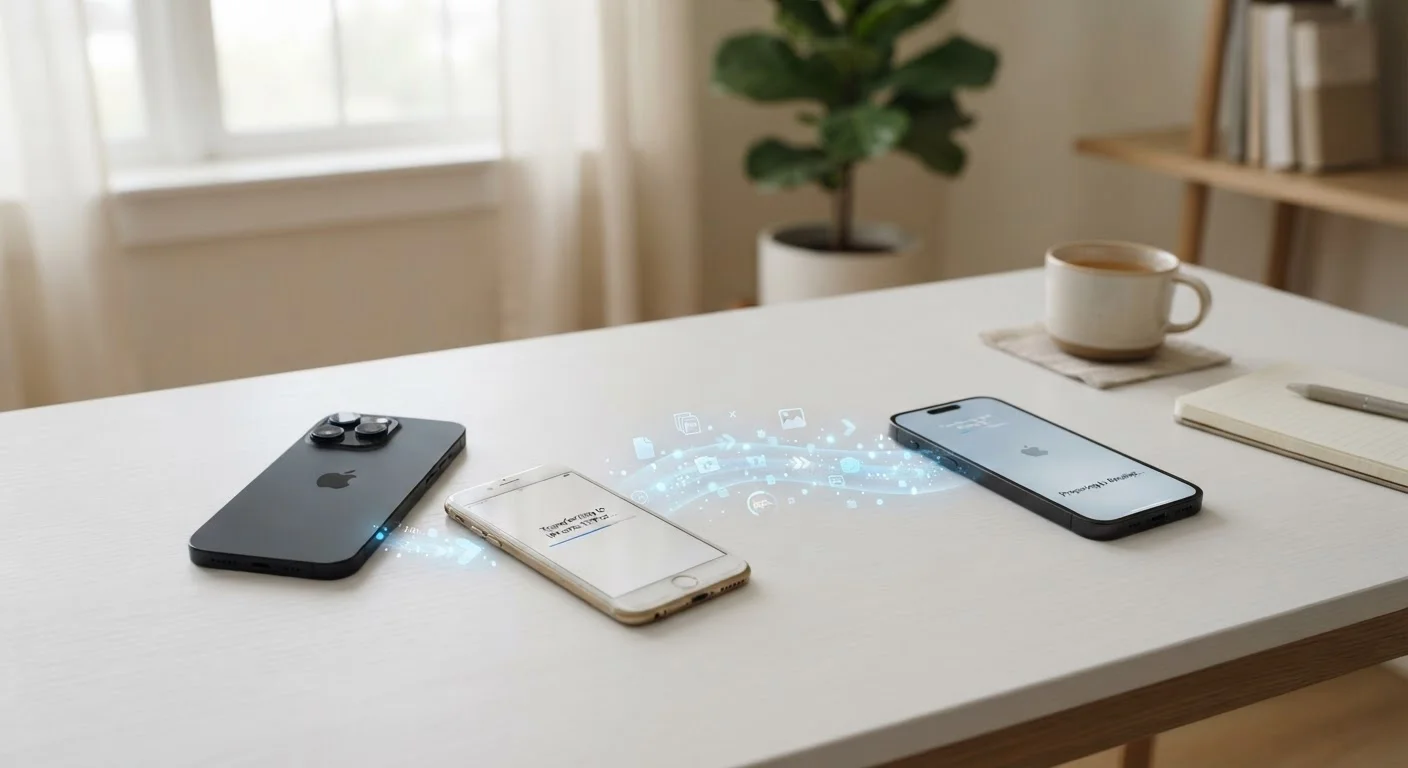
Why Phone Transfers Go Wrong
Most people who lose data during a phone switch don't lose it because the transfer failed - they lose it because they skipped a step at the beginning. The most common culprits: forgetting to back up before starting, not being signed in to the right account, or rushing to wipe the old phone before confirming the new one has everything.
Understanding what's actually happening during a transfer helps. Your contacts, photos, app data, and settings all live in different places - some on the phone itself, some in a cloud account like Google or iCloud, and some locked inside individual apps. A transfer tool moves what it can find, but if data isn't backed up or linked to an account, it may not move at all.
The good news: both major platforms - iOS and Android - now have robust, built-in transfer systems that handle most of the heavy lifting automatically. The steps below walk through the full process in the right order, regardless of which platform you're on.
What you will need
How to Transfer Your Phone Without Losing Anything
Follow these steps in order. Skipping ahead - especially to factory-resetting your old phone - is the single most common cause of lost data.
Back up your old phone completely
Before you touch your new phone, create a full backup of the old one. This is your safety net.
- iPhone: Go to Settings → tap your name → iCloud → iCloud Backup → Back Up Now. Wait until it completes.
- Android: Go to Settings → System → Backup → confirm your Google account is selected → tap Back up now.
Check that the backup timestamp updates to confirm it finished successfully before proceeding.
Gather your account credentials
Write down or have accessible the email and password for your Apple ID or Google account. You'll also want passwords for any apps you'll need to log back into. If you use a password manager, confirm you can access it independently of your old phone.
Start the setup process on your new phone
Power on your new phone and follow the on-screen prompts. Both iOS and Android will ask early in setup whether you want to restore from a backup or transfer from an old device.
- iPhone to iPhone: Use Quick Start - hold the two phones near each other when prompted. You can restore from an iCloud backup or transfer directly over Wi-Fi or a cable.
- Android to Android: Use the built-in Copy your data screen - connect via cable or Wi-Fi and sign in to your Google account when prompted.
- Switching platforms (iOS to Android or vice versa): Use Google's Switch to Android app (for iPhone users moving to Android) or Apple's Move to iOS app (for Android users moving to iPhone). Install the appropriate app on your old phone before starting setup on the new one.
Wait for the transfer to complete fully
Depending on how much data you have and whether you're using Wi-Fi or a cable, the transfer can take anywhere from a few minutes to over an hour. Keep both phones plugged in and on the same Wi-Fi network. Do not interrupt the process.
After the initial transfer screen finishes, some apps may continue downloading in the background. Give your new phone 15-30 minutes before assuming everything is in place.
Verify everything before wiping your old phone
Go through this checklist on your new phone before you do anything to your old one:
- Open your Contacts app - confirm your contacts are present.
- Open your Photos app - confirm your photo library loaded correctly.
- Open several apps and confirm you're logged in or that the apps are present.
- Check your text message history if that's important to you.
- Confirm your email accounts are connected and syncing.
Only when you're satisfied should you consider erasing the old device.
Don't Wipe Your Old Phone Too Soon
It's tempting to immediately sell or hand down your old phone after setting up the new one, but resist the urge for at least a few days. Some data - particularly from third-party apps - may not fully appear on your new phone until you've used it for a bit. Keep the old phone accessible until you're confident nothing was missed.
Once your new phone is fully set up, take a fresh look at what's on it. Use the transition as an opportunity to be intentional about what stays. Our guide on keeping your apps organized can help you avoid recreating the clutter from your old device. And if certain apps seem to be draining battery faster than expected on your new phone, see our article on apps quietly draining battery and data to identify the offenders early.
The Apps That Won't Transfer Automatically
Even a perfect transfer has some exceptions. Certain app categories require manual re-setup due to how they store data or verify identity:
- Banking and financial apps - These typically require you to re-verify your identity or log in fresh on a new device as a security measure.
- Two-factor authentication (2FA) apps - Apps like Google Authenticator or Authy store codes locally or in their own cloud. Transfer procedures vary by app; check the specific app's account-recovery or device-migration instructions before you switch.
- Messaging apps with local backups - Some messaging apps store message history on the device rather than in the cloud. Look in the app's settings for a backup or export option before you transfer.
- Games with local save data - Progress saved locally (not to a connected account) may not transfer. Link your game progress to a platform account - such as Google Play Games or Apple Game Center - before switching.
It's also worth thinking through how your apps sync across devices going forward. Cross-device syncing has real trade-offs around privacy and storage that are worth understanding before you enable it everywhere on a new device.
When you're ready to move on from your old phone, don't skip the final step of properly wiping it. Our checklist on what to do before handing down or selling an old device covers everything from signing out of accounts to fully clearing storage.
The content on this site is provided for informational purposes only and should not be considered a substitute for professional advice. While we strive to provide accurate and up-to-date information, we make no guarantees regarding its completeness or accuracy. Always consult a qualified professional for advice specific to your circumstances before making any decisions.