

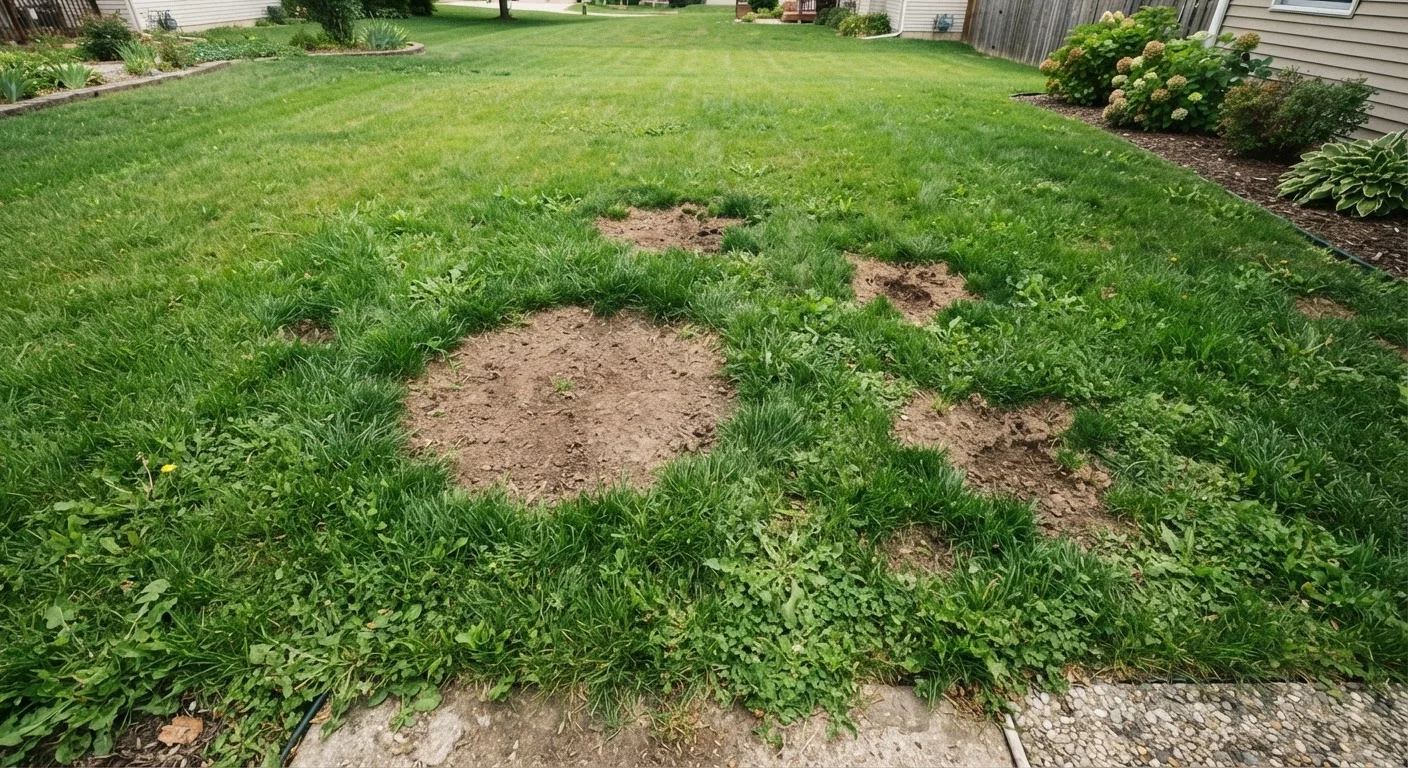
Why Bare Patches Are a Symptom, Not the Problem
Bare patches in an otherwise healthy lawn are almost always a signal - not the problem itself. The grass didn't just disappear; something made that spot inhospitable to growth. Until you identify what that something is, any repair effort is temporary at best.
The most common underlying causes include soil compaction, poor drainage, shade, insect damage, disease, pet urine, and high foot traffic. Some patches result from a combination of two or three of these at once. Diagnosing correctly before acting is what separates a lasting fix from a frustrating cycle of reseeding and failure.
Start by looking at the patch itself. A roughly circular, sunken patch with straw-colored blades often points to a fungal disease. An irregular patch in a heavily walked path suggests compaction or wear. A yellowing, spreading area in a sunny, dry corner leans toward drought stress or chinch bug damage. Shape, location, and season are your best diagnostic tools.
Fix the Cause Before You Reseed
Spreading seed over a bare patch without addressing what killed the grass there is one of the most common lawn-care mistakes. If compacted soil, poor drainage, or a pest infestation caused the problem, new seed will fail in the same spot. Always diagnose first, correct the underlying issue, then reseed.
The Most Common Mistakes That Make Bare Patches Worse
Most bare-patch problems persist - or worsen - not because they're hard to solve, but because homeowners skip the diagnostic step and head straight to remediation. The mistakes below are the most frequent reasons that reseeded areas fail to fill in, and why some yards seem to develop new bare spots every season.
Reseeding bare patches without diagnosing the root cause first.
Why it happens: It feels like the obvious fix: grass is gone, so add more grass. Most homeowners skip the diagnostic step because bare patches look like a surface problem.
Ignoring soil compaction as the primary culprit in high-traffic areas.
Why it happens: Compaction is invisible. Homeowners see worn-down grass and assume the problem is foot traffic alone, not realizing that compressed soil prevents roots from getting oxygen and water.
Overwatering or underwatering while trying to nurse bare spots back to life.
Why it happens: There's a widespread belief that more water always helps struggling grass. On the other end, busy homeowners let newly seeded areas dry out between infrequent watering sessions.
Mowing too short over thinning or recovering areas of lawn.
Why it happens: Scalping the lawn - cutting grass shorter than recommended - stresses all turf, but it disproportionately damages areas already weakened by bare-patch problems.
Applying fertilizer to bare patches at the wrong time or in excessive amounts.
Why it happens: Homeowners often assume a nutrient boost will jump-start recovery. Too much fertilizer - or applying it during heat or drought stress - can burn soil and kill seedlings before they establish.
Treating the whole lawn the same way, regardless of micro-conditions across the yard.
Why it happens: It's easier to apply one approach everywhere - same seed, same water, same schedule. But shade, drainage, and soil depth vary even within a small yard.
For a broader view of what your lawn needs throughout the year to stay resilient, the Seasonal Lawn Care Calendar offers a month-by-month breakdown that can help you get ahead of these issues before they develop.
Don't Assume Grubs Without Checking
Grub damage and drought stress can look nearly identical from the surface. Before applying any grub-control treatment - which can affect soil biology - dig up a small section of sod and count larvae per square foot. Treating for grubs you don't have wastes money and can disrupt beneficial organisms in your lawn's ecosystem.
Repairing Bare Patches the Right Way
Once you've identified and addressed the underlying cause, repairing the patch itself is straightforward. Loosen the top inch or two of soil with a hand rake - this improves seed-to-soil contact. Spread seed appropriate for your grass type and local growing conditions, then lightly rake it in so seeds aren't sitting exposed on the surface.
~40%
Of lawn failures linked to soil compaction
Turf management research consistently identifies compaction as a leading factor in grass thinning and bare-patch formation in residential lawns.
1/3
Maximum grass blade to remove per mow
The one-third mowing rule is a widely accepted guideline among turfgrass specialists to prevent scalping and stress-related dieback.
10-14 days
Typical germination window for common turf grasses
Most cool- and warm-season grass varieties will show germination within one to two weeks under correct temperature and moisture conditions.
Keep the area consistently moist during germination - this is the phase where most repair attempts fail. Light, frequent watering prevents the seed from drying out between sessions. Once seedlings reach about an inch tall, you can begin transitioning to a normal watering schedule.
Avoid heavy foot traffic on repaired areas for at least four to six weeks. If the area is a high-traffic path, consider redirecting that foot traffic with a temporary border or stepping stones to give the new growth a fighting chance.
Patience and consistency matter more than any single product or technique. A bare patch that took months to develop won't fill in overnight - but with the correct diagnosis and follow-through, most residential lawns recover well within a single growing season.
The content on this site is provided for informational purposes only and should not be considered a substitute for professional advice. While we strive to provide accurate and up-to-date information, we make no guarantees regarding its completeness or accuracy. Always consult a qualified professional for advice specific to your circumstances before making any decisions.