

Start with Layout: What Can (and Can't) Move
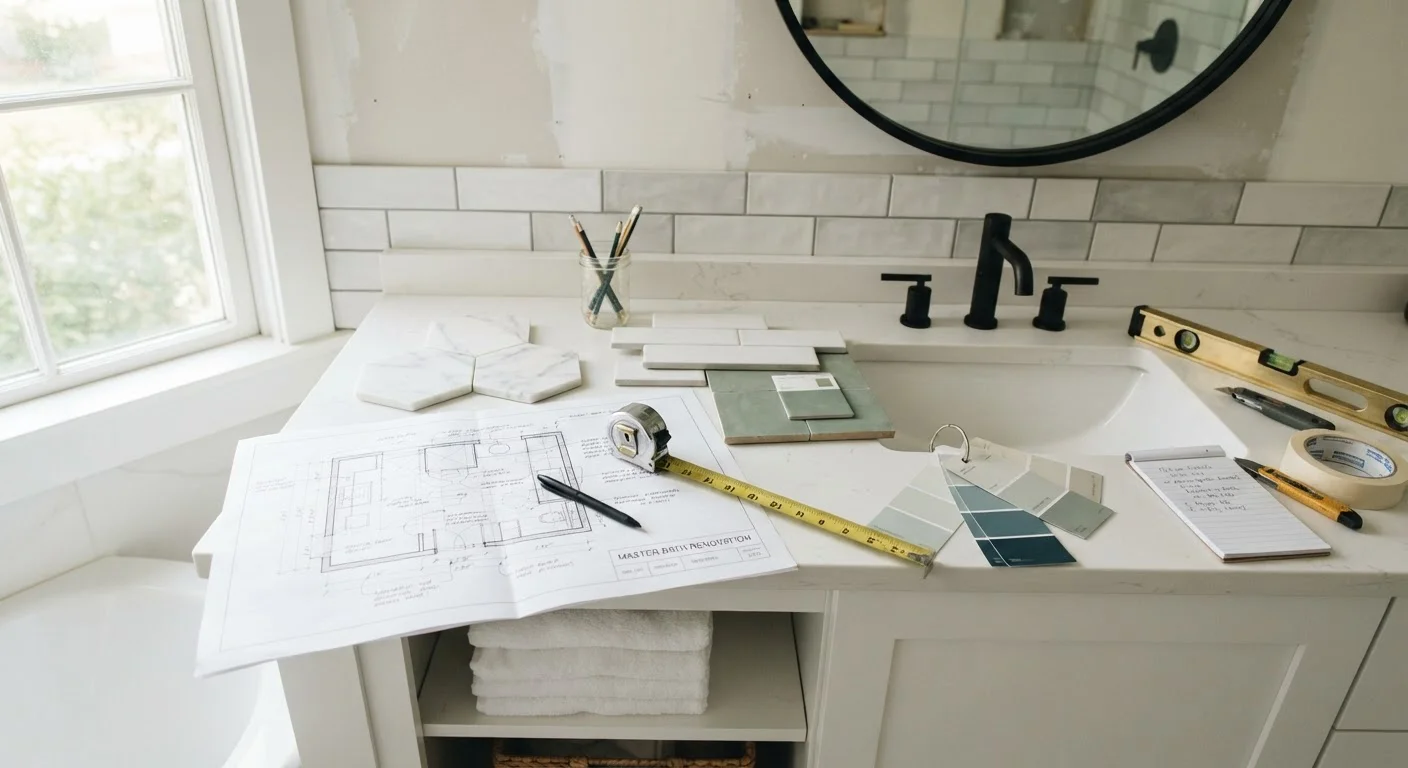
The single most consequential decision in a bathroom renovation is whether you change the layout. Every fixture in your bathroom - the toilet, sink, shower, and tub - connects to plumbing that runs through walls, floors, and sometimes concrete. Moving any of these connections carries significant cost and complexity.
As a general rule, keeping fixtures in their existing locations (or close to them) is the most cost-effective approach. If you're expanding into an adjacent closet or combining two rooms, that changes the calculation - but for a standard remodel within the same footprint, resist the urge to relocate the toilet simply because it feels better on paper.
When evaluating your layout, consider these functional priorities:
- Clearance space: Building codes typically require a minimum of 15 inches from the center of a toilet to any side wall or obstruction, and 21 inches of clearance in front. Verify your local code - some jurisdictions require more.
- Door swing: A door that opens into a fixture is a daily frustration. Consider pocket doors or barn-style doors if square footage is tight.
- Natural light and ventilation: If you're opening walls anyway, evaluate whether a window can be repositioned or a skylight added. Moisture control is critical in bathrooms.
Before committing to any layout change, read our pre-renovation checklist to make sure you've covered every planning essential first.
Setting a Realistic Budget
Bathroom renovations span a wide cost range depending on size, scope, and material selections. A cosmetic refresh of a standard full bathroom may cost a few thousand dollars in materials and labor. A complete gut renovation of the same room, with new plumbing rough-in and custom tile work, can exceed $20,000 or more depending on your market and finish level.
Rather than anchoring to an aspirational number, build your budget from the bottom up:
- List every line item: Demo, disposal, plumbing rough-in, electrical, tile and installation, fixtures, vanity, lighting, ventilation, paint, and hardware each carry their own costs.
- Get multiple contractor quotes: For any permitted work, gather at least three bids. Significant variation between bids often signals a scope misunderstanding - clarify before signing.
- Reserve 15-20% for contingencies: This is not optional padding; it's a practical necessity given how often demolition reveals surprises.
15-20%
Recommended budget contingency for renovations
Industry guidance consistently recommends setting aside 15-20% of your total budget to cover unexpected discoveries like water damage or outdated wiring.
~60%
Of renovation cost recouped at resale (mid-range bath)
According to Remodeling magazine's Cost vs. Value reports, mid-range bathroom remodels have historically recouped roughly 60% of their cost at resale, though this varies by market.
3-6 weeks
Typical timeline for a full bathroom gut renovation
A complete gut renovation-removing everything to the studs-generally takes 3 to 6 weeks depending on scope, contractor scheduling, and material lead times.
For broader cost-management strategies, our article on home improvement on a budget offers phasing approaches that can help you spread costs without compromising the finished result.
Permits and Professional Trades
Understanding what requires a permit - and what doesn't - protects you legally and financially. In most U.S. municipalities, the following bathroom work requires permits:
- Any new or relocated electrical circuits, including GFCI outlet installation in new locations
- Changes to supply or drain plumbing lines
- Structural modifications (removing walls, altering framing)
- Adding or relocating a window or exterior door
Work that typically does not require a permit includes replacing like-for-like fixtures (same location, same connections), painting, installing a new vanity top, or retiling a shower without altering the substrate.
Electrical and Plumbing Work Requires Licensed Professionals
In most U.S. jurisdictions, any new electrical circuits, panel work, or modifications to supply and drain lines in a bathroom must be performed by licensed electricians and plumbers, and inspected before walls are closed up. Attempting this work without permits or proper licensing can void homeowner's insurance, create safety hazards, and create serious complications when you sell the home. Always verify local code requirements with your municipality before beginning.
When hiring contractors, verify that plumbers, electricians, and general contractors hold current licenses in your state. Ask to see proof of insurance and check references. The permit process also serves as a quality-control checkpoint - inspectors catch problems that could become expensive or dangerous later.
Choosing Finishes and Materials
Material selection defines both the look and the long-term performance of your bathroom. The key is matching material properties to the demands of the environment - high humidity, standing water, and daily abrasion.
Tile
Porcelain and ceramic tile remain the most practical choices for bathroom floors and shower walls because of their water resistance and durability. Porcelain is denser and more impervious to moisture than ceramic - an important distinction for shower floors and steam environments. Natural stone (marble, travertine) is beautiful but requires periodic sealing and is more susceptible to staining and etching.
For floor tile specifically, prioritize slip resistance. Look for tiles rated with a higher coefficient of friction (COF), particularly for wet areas. Mosaic tiles with more grout lines naturally provide better traction than large-format tiles on shower floors.
Before finalizing any layout change, trace your existing drain and supply lines and mark them on graph paper. Knowing exactly where pipes run tells you which layout ideas are affordable and which will multiply your plumbing bill.
Plumbers price work largely around how far new drain lines must travel; even shifting a toilet 12 inches can require opening a concrete slab or rerouting through a joist bay.
Order a full extra box of every tile you select and store it. Tile dye lots vary between production runs, so a replacement tile purchased years later may never match perfectly.
Grout can be touched up, but a mismatched replacement tile in a high-visibility area is a lasting cosmetic problem that is entirely preventable.
Vanities and Countertops
Solid wood vanities should be finished to resist moisture; MDF (medium-density fiberboard) cabinetry in humid conditions can swell and delaminate over time. Quartz countertops are non-porous and low-maintenance - a practical advantage in bathrooms. Cultured marble and solid surface are budget-friendly alternatives with adequate durability.
Fixtures and Hardware
Finish consistency across faucets, towel bars, toilet paper holders, and lighting creates visual cohesion. Finishes like brushed nickel and matte black tend to show water spots less than polished chrome. Choose fixtures with readily available replacement parts - obscure imported brands can be difficult to service years later.
What to Expect During the Renovation
A bathroom gut renovation is disruptive by nature. Setting clear expectations before work begins reduces stress and helps you make faster decisions when questions arise on-site.
Order Materials Before Scheduling Trades
Tile, vanities, and fixtures often have lead times of two to eight weeks, especially if ordered through a specialty supplier. Confirm delivery windows before booking your contractor's start date so trades aren't waiting - and billing - while materials are still in transit.
A typical sequence for a full bathroom renovation looks like this:
- Demo and rough inspection: Existing fixtures, tile, and drywall are removed. The inspector verifies existing conditions before new work begins.
- Rough plumbing and electrical: Any new or relocated lines are installed and inspected behind open walls before anything is closed up.
- Waterproofing and backer board: Cement board or a dedicated waterproofing membrane is installed in all wet areas. This step is not optional - it's what prevents water intrusion behind tile.
- Tile installation: Floor and wall tile go in, followed by grouting and sealing.
- Fixture installation: Vanity, toilet, tub or shower unit, mirrors, and lighting are installed after tile is complete.
- Final inspection and punch list: The inspector signs off on permitted work. Your contractor addresses any remaining touch-ups.
Plan to be without access to the bathroom for the full duration. If it's your only bathroom, discuss a phased schedule with your contractor or arrange temporary accommodations during the most intensive days.
Hidden Water Damage Is Common in Older Bathrooms
Once tile or drywall comes down, it is not unusual to find rotted subfloor, moldy backer board, or corroded pipes - especially in bathrooms that are more than 20 years old. Budget and schedule time for these discoveries rather than assuming the structure behind the walls is sound. Skipping proper remediation to save money can lead to far costlier repairs down the road.
Storage and Organization Built In
The time to plan bathroom storage is during the design phase - not after the walls are closed. Adding a recessed medicine cabinet, a niche in the shower wall, or under-vanity drawers is straightforward when framing is exposed; it becomes a costly retrofit later.
Consider these built-in storage opportunities during your renovation:
- Recessed shower niches: Tiled into the shower wall between studs, these eliminate the need for suction-cup shelves and look intentional.
- Floating vanities with drawer stacks: Drawers offer far more accessible storage than a single cabinet with a door, especially for smaller items.
- Medicine cabinets: A recessed medicine cabinet provides both a mirror and significant storage depth without extending into room space.
- Linen closet integration: If your bathroom footprint allows, a small built-in linen closet eliminates hall storage needs.
For broader home organization strategies that integrate with your renovation plans, visit our home organization hub or explore the room-by-room organization walkthrough for practical approaches to every space.
Cosmetic Updates vs. Full Gut Renovations
Not every bathroom project requires demolition. Replacing a vanity, swapping fixtures, regrouting tile, and repainting are all cosmetic updates that typically don't require permits and can meaningfully refresh a space. If your layout functions well and the underlying structure is sound, a lighter update may deliver strong results at a fraction of the cost.
A well-planned bathroom renovation pays dividends in daily comfort and long-term home value. The most successful projects begin with honest assessment of the existing space, clear priorities, and a budget that reflects real-world costs - not best-case scenarios. Take the time to plan thoroughly, and the construction phase becomes execution of a clear vision rather than a series of expensive decisions made under pressure.
The content on this site is provided for informational purposes only and should not be considered a substitute for professional advice. While we strive to provide accurate and up-to-date information, we make no guarantees regarding its completeness or accuracy. Always consult a qualified professional for advice specific to your circumstances before making any decisions.