

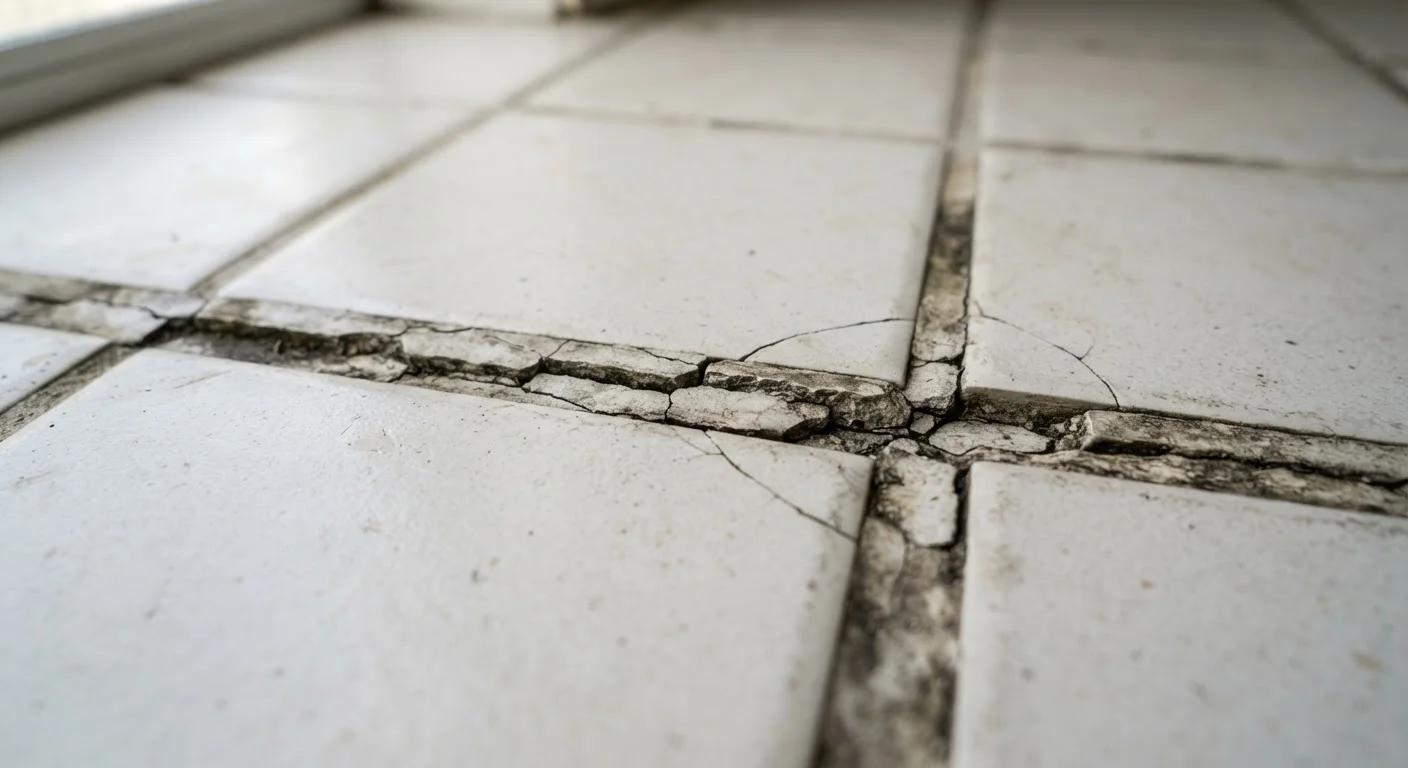
Why Grout Cracks in the First Place
Grout cracks frustrate homeowners precisely because the fixes never seem to stick. You fill in the gaps, and six months later, the cracks are back. That cycle happens because cracked grout is almost always a symptom, not the root problem. Understanding what causes grout to fail is the first step toward a repair that actually lasts.
The most common culprits include substrate movement (the surface beneath the tile shifting or flexing), insufficient mortar coverage behind tiles, using the wrong type of grout or caulk for the location, and skipping curing time during installation. Each of these creates stress that grout - a rigid material - simply cannot absorb indefinitely.
The good news: once you identify the real cause, the fix is usually straightforward. The mistakes below are where most homeowners go wrong, and correcting them makes all the difference.
Grouting over existing cracked grout without removing the old material first.
Why it happens: It seems like a time-saving shortcut - just press new grout into the gaps. But fresh grout cannot bond reliably to deteriorating old grout and will crack again quickly.
Using grout instead of caulk in corners, along tub edges, and where tile meets a different surface.
Why it happens: Grout is used everywhere else on the floor or wall, so it feels natural to use it at corners too. However, corners are change-of-plane joints that flex slightly as buildings settle and temperatures change.
Mixing grout too wet or using inconsistent water ratios.
Why it happens: A wetter mix feels easier to work with and spread, so it is tempting to add extra water. Overly wet grout shrinks more as it cures, producing weak, porous grout that cracks and stains easily.
Skipping or shortening the grout curing time before exposing it to water or foot traffic.
Why it happens: After completing a tiling project, homeowners are eager to use the space. Rushing the cure period weakens the grout's final strength and makes it vulnerable to cracking and moisture damage.
Ignoring a flexing or uneven subfloor before tiling.
Why it happens: The subfloor issue may not be obvious, and homeowners often focus on the tile surface itself. Any movement in the substrate transfers directly to the tile and grout, causing cracks no matter how well the surface work is done.
How to Make Your Grout Repair Actually Last
Lasting grout repair comes down to preparation, correct materials, and patience. Before applying any new grout, remove all cracked or crumbling material using a grout saw or oscillating tool - trying to bond fresh grout to failing old grout is one of the most common reasons repairs fail quickly.
Don't Skip Protective Gear During Grout Removal
Grout removal generates fine silica-containing dust that is harmful when inhaled. Always wear a properly fitted N95 respirator mask, safety glasses, and gloves when using a grout saw or oscillating tool. Work in a ventilated area and dampen the grout slightly before cutting to help suppress airborne dust.
Once the joint is clean and dry, check whether the area in question is a field joint (tile-to-tile on a flat surface) or a change-of-plane joint (a corner or edge where two surfaces meet). Field joints get re-grouted with the correct grout type and sanded or unsanded based on joint width. Change-of-plane joints should be filled with flexible sanded caulk that matches your grout color - not grout itself. This distinction matters enormously for long-term performance.
After applying new grout, follow the manufacturer's curing instructions carefully. Most grout needs at least 24-72 hours before exposure to water, and sealing porous grout with an appropriate penetrating sealer after it cures helps prevent moisture infiltration. Building a habit of periodic maintenance - inspecting grout annually and resealing as needed - is far less disruptive than a full repair. As with many home systems, staying proactive beats reactive fixes every time, a principle that applies well beyond tile work, as outlined in our look at scheduled maintenance vs. fixing things as they break.
If grout cracks return quickly after a correct repair, or if tiles are cracking alongside the grout, the issue may involve structural movement in the subfloor. In those cases, consult a licensed tile contractor or flooring professional before investing further in surface-level fixes.
The content on this site is provided for informational purposes only and should not be considered a substitute for professional advice. While we strive to provide accurate and up-to-date information, we make no guarantees regarding its completeness or accuracy. Always consult a qualified professional for advice specific to your circumstances before making any decisions.