

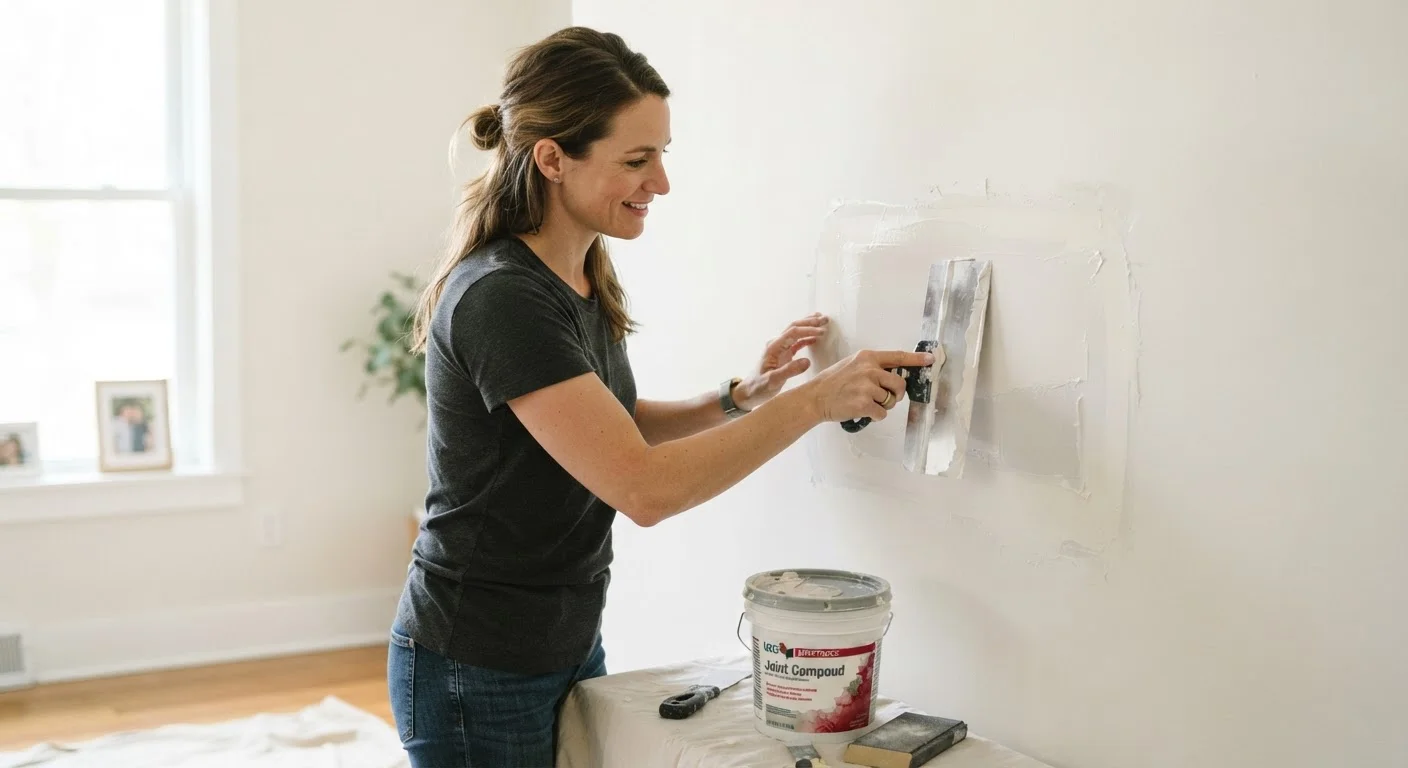
What You Need Before You Start
Gathering the right materials before you begin will save you multiple trips to the hardware store and keeps the repair moving efficiently. The tools and supplies you need scale with the size of the damage, so review the full list below and pull only what applies to your specific hole size.
Putty knife or drywall knife (6-inch)
Used to apply and smooth joint compound over patches of all sizes.
Drywall sanding sponge or 120-grit sandpaper
Smooths dried joint compound between coats and before priming.
Self-adhesive fiberglass mesh patch
Bridges medium-sized holes (up to 6 inches) and provides a stable base for compound.
Backer board or wood furring strip
Creates an internal anchor for large drywall patches that have no existing framing support.
Drywall screws and screw gun
Secures replacement drywall sections and backer boards firmly in place.
Drywall primer
Seals the repair before paint to prevent sheen differences and blotchiness.
Utility knife
Cuts drywall cleanly when trimming patch pieces or squaring off damaged areas.
12-inch drywall knife (wide)
Allows feathering compound over a wider area for large repairs, reducing visible edges.
What you will need
How to Patch Drywall Step by Step
Follow these steps in order, matching your technique to the hole size as described in each step. Do not rush the drying time between coats - that patience is what separates a professional-looking repair from one that cracks or shows through paint.
Assess and classify the damage
Before reaching for any tools, identify what you are working with. Holes fall into three general categories:
- Small (under ½ inch): Nail holes, small dings, and screw pops.
- Medium (½ inch to 6 inches): Doorknob dents, accidental punctures, and outlet box damage.
- Large (over 6 inches): Fist-sized holes, cut-outs from plumbing or electrical work, or impact damage.
Also check whether the drywall paper is torn or lifted around the edges, and press gently around the damage to confirm no hidden soft spots indicate water damage. If you suspect water, find and fix the source before patching.
Repair small holes with spackle or lightweight compound
For nail holes and small dings under ½ inch, lightweight spackling compound is your fastest option. Press a small amount into the hole with your fingertip or a putty knife, overfilling slightly. Smooth it flush, let it dry completely (usually 30-60 minutes), then sand lightly with a fine-grit sanding sponge until the surface is flush with the surrounding wall.
For nail pops - where the nail or screw head pushes through the paper - drive a new drywall screw 2 inches above and below the pop, then countersink the original fastener just below the surface. Cover all three dimples with two thin coats of compound.
Patch medium holes with a self-adhesive mesh patch
For holes between ½ inch and 6 inches, a self-adhesive fiberglass mesh patch panel is the most reliable approach. Clean loose debris from the hole edges first. Peel the backing from the mesh patch and center it over the hole, pressing firmly so it adheres to the surrounding wall surface.
Apply a coat of all-purpose joint compound over the mesh using a 6-inch drywall knife, pressing firmly to force compound through the mesh openings. Extend the compound 2-3 inches beyond the patch edges. Let this coat dry fully - typically overnight - then sand lightly and apply a second, wider coat. Most medium repairs need three coats total to become invisible.
Install a backer board and patch panel for large holes
Holes larger than 6 inches need structural support. Cut the damaged area into a clean rectangle using a utility knife and straightedge - clean geometry makes patching far easier. Cut two lengths of wood furring strip (1×3 or 1×4 lumber) a few inches longer than the hole's height. Slide each strip behind the drywall on the left and right sides of the opening, holding them flush to the front face of the wall. Drive drywall screws through the existing drywall and into each strip to anchor them.
Cut a piece of drywall to fit the rectangular opening exactly. Screw it into the backer strips. You now have a solid, flush patch surface. Apply joint compound with drywall tape over all four seams, feathering outward. Plan on three to four coats for large repairs.
Sand, prime, and paint the repaired area
Once the final coat is completely dry, sand the entire repair smooth using a 120-grit sanding sponge. Work in circular motions and feel the surface frequently - you are aiming for a transition so gradual you cannot feel where the patch ends. Wipe away all dust with a damp cloth and let the wall dry.
Apply a coat of drywall primer before painting. Repaired areas absorb paint differently than the surrounding wall, and skipping primer nearly always results in a visible dull spot - called flashing - even under two coats of paint. Once the primer is dry, paint the entire wall panel if possible, not just the patch, for the most uniform finish.
Permits May Be Required for Structural Repairs
Standard cosmetic drywall patching does not typically require a permit. However, if the hole exposes wall framing that appears damaged, rotted, or altered - or if you are re-drywalling an entire room - check with your local building department. Work involving modifications to load-bearing walls or fire-rated assemblies should always be evaluated by a licensed contractor.
Getting an Invisible Finish: Feathering and Texture Matching
The most common complaint with DIY drywall repairs is a visible hump or outline showing through paint. This happens when compound is applied too thickly in a small area rather than spread thin and wide. Think of feathering like blending foundation makeup - the center is fully covered, and the edges dissolve to nothing over a wide area.
For walls with texture - such as orange peel, knockdown, or skip trowel - you will need to recreate the texture over the patch before priming. Aerosol texture sprays are available for common patterns and can be applied once the final compound coat is dry and sanded. Practice on cardboard first to match the density of the existing texture. Once you are satisfied, apply lightly to the patch and let it dry before priming.
Match Your Texture Before Painting
If your walls have a textured finish, replicating it over the smooth patch is essential for an invisible repair. Aerosol texture products designed for orange peel and knockdown finishes work well for most common wall textures. Always test the spray pattern on cardboard and adjust the distance before applying to the wall - too close creates blobs, too far creates overspray.
The content on this site is provided for informational purposes only and should not be considered a substitute for professional advice. While we strive to provide accurate and up-to-date information, we make no guarantees regarding its completeness or accuracy. Always consult a qualified professional for advice specific to your circumstances before making any decisions.